Sunday, July 31, 2011

My First (and Coolest Ever) Interview

Farmer Daniel Gannon

Today I am very proud to present my first ever interview - with local farmer Daniel Gannon of Humble Roots CSA. I first noticed Dan at the West Sacramento Farmer's Market, handing out samples of sprouted quinoa and buttons that proclaimed, "Know Your Farmer".

In talking with Dan, I learned that he quit his job to start a farm in my hometown, and is committed to doing it the "old-fashioned" way - no tractor, pesticides, or anything that would harm the earth. His plot of land used to be used for horses and he is focusing restoring it for agricultural use so he can start his own Community Supported Agriculture program this fall.

I had to know more about this project, and am so grateful that he took time in the middle of summer (a crazy time for farmers) to do this for me. I'm glad he did so that I can share it his story with my readers. If you want to be inspired by someone who is passionate about what they do, look no further than Dan Gannon. Here's my interview with him:


Q: How did you first become interested in farming?

A: During my sophomore year in college I was studying Molecular Environmental Biology and decided I didn't want to spend the rest of my life in a sterile lab environment. I was simultaneously enrolled in a lab class titled "Urban Garden Ecosystems". This type of lab was much more appealing to me. I found a practical application for the classes I was taking on microbial ecology.

More importantly, I really enjoyed the people that were involved in the student community garden. Here were folks sharing food and experience with each other and the neighbors. So I changed my coursework, developed an interdisciplinary major called Agricultural Ecology and began my education. Following this change, I managed a UC research farm for two years studying pest incidence in crops fertilized conventionally and organically.

Q: What role did your education play in the way you farm?

A: My training in ecology has given me complete confidence in the natural systems already in place all around us. It also reinforced the need to consider people as an integral part of natural systems. We are not separate from the systems that produce our food. In fact, our homes, farms and native plant habitats don't have to be separate. I want to share this experience with people.

Q: How long have you been farming? How would you describe and why do you implement the practices you use?

A: This is my first year farming. The most accurate term for describing the food production system that I am developing is "Agricultural Ecology." Ecology is paying attention to how living organisms interact with each other and the environment. By learning from the life cycles in place, and working to align my goals and labor with these cycles, I am propagating a site-specific method for producing the most stable yields with the least amount of energy (fuel, calories, etc) input required.

In any living system microbes make up the majority of biomass, so in my system I want to develop a microbial community that will do the bulk of the work to provide healthy plants and animals. This is the most effective way to provide worthwhile food. That is why I practice Agricultural Ecology. At the same time this ecosystem contributes clean air, water, and land; genetic integrity and diversity; a good living wage for workers; a sense of community for all participants; social stability; creative leisure activity; a good place for a child to grow up, and everything else I can think of that is worthwhile in life.

The best perk about this system is that I get to raise my daughter in the best way I can imagine. This is what we are really talking about here. This food production system allows communities to become stronger, neighbors to become closer, and loved ones to share the experience of a great meal around the kitchen table. Humble Roots Community Supported Agriculture is bringing the farm back home!

Q: Tell us a little about the current project you are involved with in West Sacramento.

A: I am incredibly excited about this project. Mostly, I'm passionate about how I'm farming. I want to give people a choice with how their food is grown. It's the same choice I want as a consumer. The fact is that I'm growing food without any diesel fuel or machinery. My system provides a good living wage to as many people as possible per acre. So when you buy food from Humble Roots your money pays a wage for a person in your community. The details of how I farm are to minimize costs by limiting inputs and by cultivating not the soil but the living organisms within the soil. They are the most productive workers. Also important for stability in my system is native plant life. These are the most unique characteristics of my farming methods. But to set up the story of this particular project we have to take a step back.

I had been trying to find an opportunity to farm, dead set on the belief that it would not be worth it unless I owned land because my practices include investing in the soil for the first few years before it is really developed for production. It was also because of my pride and stubbornness. It was like I was wearing blinders. Finally, out of frustration, I gave up this notion that I had to own the land I farmed. Then I quickly found there were many good opportunities.

I took the smallest piece of land in the hopes of creating a system that is easily reproducible. I started by broadcasting a fall cover crop to start to build a living soil. I had saved up enough money at my job to have a real shot at getting the ground work done, so I quit my job in the spring to devote more time to the farm. My belief is that it should be easy for anyone who has the desire to say, "Yes, I want to farm," or “I want to know my farmer!” My hope is to show that it doesn't have to be difficult to make that decision.

Q: What sorts of things are you currently growing? What do you hope to grow in the future? Do you plan to start a CSA?

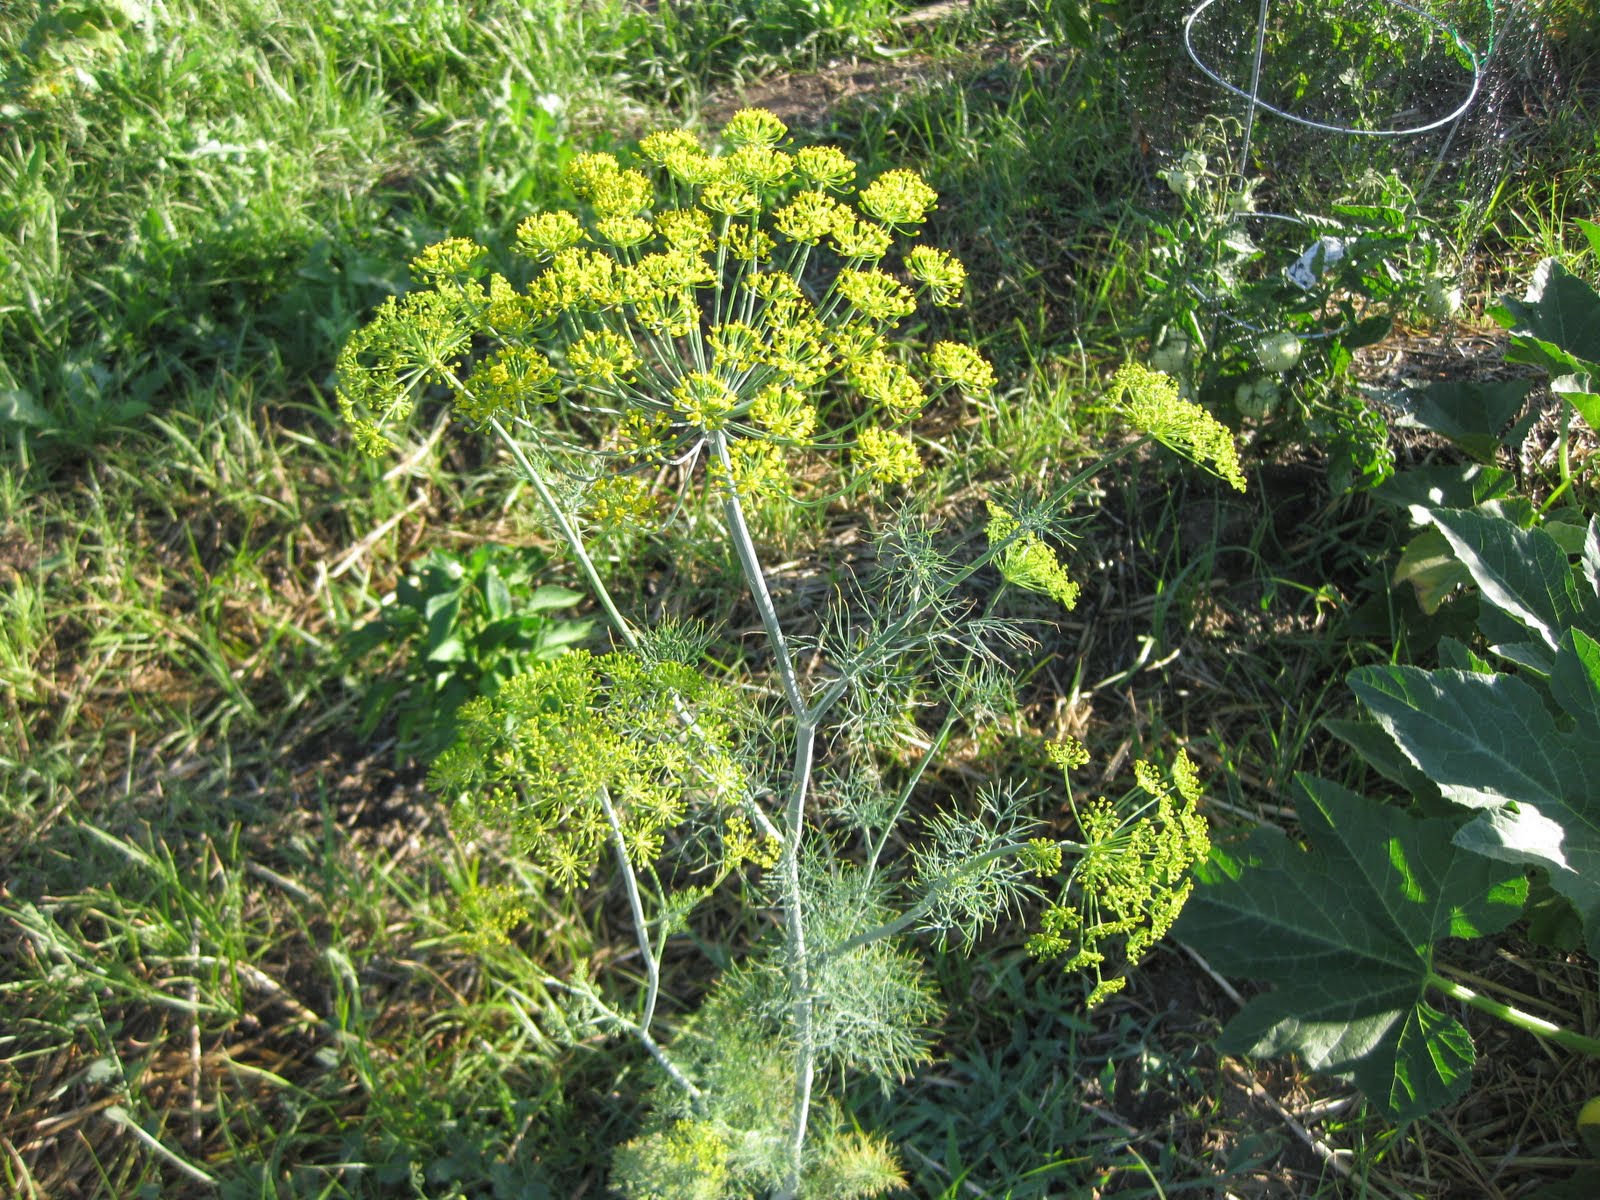
A: This year, for soil improvement, I have grown rye and barley; daikon radish; phacelia; ground pea; potato; all among the weeds that were established on-site. For production I am growing ten varieties of heirloom tomato; three of heirloom sweet peppers; four of heirloom melons; summer squash; basil and summer savory. I grow the herbs among the tomatoes to increase production of flavor and aroma compounds in the tomato plants. I've got dense plantings in my beds. You can't do that if you use a tractor to weed your rows. That is just one example of the attention to detail that is possible in a food production system like Humble Roots.

The fertility of the soil this summer is better than I had expected, so I will be getting CSA member commitments prior to planting fall crops. My farm can support fifteen to twenty member shares. The plan is for a fifteen member CSA system. Humble Roots emphasizes the "community supported" part of community supported agriculture (CSA). I have chosen a unique approach. I've made the commitment to taking local food and CSA a step further. Members get the opportunity to be personally connected to this farm. I invite members to enjoy a full year of food from land close to your kitchen. Growing it yourself is the only way to eat food closer to where it grows. The member makes a commitment to financially support a neighborhood sized small farm and the people involved with it.

If folks value good food, this provides the opportunity to show it and participate in an ecosystem that contributes to life. Our pricing is based on a sliding scale. It takes me at least two hours per week to grow food for one family. The minimum commitment is $30 dollars per week. I harvest 50 weeks out of the year.

Now if someone is employed in a profession earning $100 dollars per hour, and they value an ecological approach to farming as we discussed earlier, then I challenge folks to assign the time of a farmer the same value as they have assign their own time. My time is not spent on a tractor, removed from the land I farm, but instead intimately connected to the earth that provides for us, studying, paying attention, and making decisions about how to best produce food for generations to come. I believe that people value these principles enough to financially support this farm.

Q: Can you describe a typical day for you?

A: The simple answer is I sweat and get dirty. I am very hands on with two components of my system: water and soil. My time spent managing these two resources will always pay handsomely over the long term. I made the decision in the beginning that I could not sacrifice responsible methods of food production for convenience. Soil and water conservation are two key factors in every decision I make. Additionally, I spend a surprising amount of time in marketing activities and networking with other young responsible farmers.

A friend of mine describes it best when he says, "Subject to change." I am learning that I need to align my efforts with the cycles that have been stable for a long, long time. For instance, while weeding one day, it became clear that I needed some chickens to eat my weed seeds for me. I was missing an essential part of an ecosystem, and was not using my time most effectively. I learn a lot from paying attention.

Q: What is the best way for an average person to become actively involved in the food production process?

A: First is to grow your own food. Grow a little or a lot. I'd be happy to be put out of business because every neighborhood had adequate space for a community garden and neighbors took care of each other. I don't think this is impossible. But most likely there will always be a need for farmers.

Second is to know your farmer. CSA systems probably provide the best opportunity to support particular principles or personalities. Going to Farmer's Markets is a good choice too. The hardest part is identifying that your everyday food choices have an effect on our ability to live comfortably on Earth. So please, for the love of your fellow man, make well-informed decisions, whatever the particulars turn out to be. Choose food grown in ways that you consider responsible. Then, having made your choice, a choice you can be proud of, share it with everyone you know. Share the joy of a meal around the kitchen table. Talk about the weather, and how it imparted a unique characteristic to your meal. Pay attention to the seasons, and participate in the experience of connecting to the Earth and the people around you through the food you eat.

Q: Do you think it's possible for farming to be an economically successful venture in today's world? If so, how?

A: It better be. It starts with your readers joining as members of Humble Roots Community Supported Agriculture. We need to eat. And my daughter and new nephew need to eat. All my friends’ kids need to eat. And of course, we need responsibly grown food available. The good news is that our conventional system of agribusiness is crumbling. In the place of this catastrophe, like trees after a forest fire, small farms are sprouting up in the cracks of the sidewalk, in an empty lot, in land spoiled by the use of chemicals. Small farms, like microbes, diverse in nature, have the capacity to restore the health of land and body.


Be sure to "Like" Humble Roots CSA on Facebook here. For more information, contact Dan at:

Dan Gannon
Humble Roots CSA
participate@foodandnatives.com
916-799-6068

Thursday, July 28, 2011

What Would Alice Do?


Despite the fact that summer is in full swing, I found myself uninspired in my menu planning today. And I found myself wondering, What would Alice Waters do?

I found the answer on Chez Panisse Cafe’s website: A menu inspired by Deborah Madison, whose wonderful cookbook Vegetarian Cooking for Everyone is a welcome presence in my own collection.

I love how the menu focuses on the best organic produce, like zucchini, greens, corn, sweet peppers, rosemary, and tomatoes. Sample dishes from the menu:

Salads:
- Blue Heron Farm Little Gems lettuce with mustard dressing, spiced beets, egg, and chives
- Shaved fennel and parsley salad with black pepper and Parmesan

Entrees:
- Pizzetta with zucchini, bottarga di muggine, and mint pesto
- Sheeps milk ricotta and greens cannelloni baked in the wood oven with porcini mushrooms
- Grilled Riverdog Farm chicken breast with succotash and sweet pepper relish
- Pizza with Flammé tomatoes, pancetta, and rosemary

And for dessert, the simplest one I saw was a bowl of Frog Hollow Farm Santa Rosa plums! The fancier options included a peach, nectarine, and berry cobbler with vanilla bean ice cream.

Alice: Consider me inspired.

Wednesday, July 27, 2011

Exciting News!

Things have been very busy this summer and I have not had the time to blog as I would like to. Most of that is due to two things:

1) Growing our garden takes a lot of time. But recently even that has been neglected woefully because of the next reason:

2) We are moving! We will finally have a place to plant and grow a real garden, and we can hardly wait! We won't have to wait long, because we only have a month to fix up the new place, pack and move. Luckily, it's just across town.

I keep planning the landscape when I should be focusing on fixing up the house itself. My excuse: We can't do much until the flooring and paint is done, so in the meantime, why not dream up delicious homegrown produce and herbs?

There is a basic landscape in place, but most of the plants and trees have been torn out for some reason. All that remains is a yellow rose bush and a what appears to be a neglected dwarf orange tree:

I had a chance to ask the previous owner about this sad little tree, and she lamented that it had never produced fruit. So I have my work cut out for me, friends! The first thing I did was prune the tree, add compost, water it, and mulch it. It's looking better already and I am dreaming of oranges this winter (hope hope)! In my dreams, it's something like a miniature version of this:


Thursday, July 21, 2011

Caribbean Spiced Slow Cooker Ribs


I have this problem with ribs. It seems like all I have to do is see a picture of them and all of a sudden: instant craving. And it isn't like ice cream or some other craving where I can go to the store and buy fall-off-the-bone tender ribs slathered in BBQ sauce.

I know there are plenty of grilling experts out there who loving apply homemade rubs, place their ribs in smokers, ovens, on grills, tenderly dab sauce on them... This could take hours. Problem #2 is that I don't have that kind of patience for meat, especially in the summertime when the cooler I can stay, the better.

Solution: My trusty slow cooker. On a hot summer day, this recipe is a god send. It involves applying a simple rub to your ribs, slow cooking them all day, adding some BBQ sauce at the end, and before you know it, you've got tender, gooey ribs - all without turning on your oven once. Thank you to my homegirl Betty Crocker, and my friend Donna for the recipe.

Caribbean Spiced Ribs

From Betty Crocker’s Cookbook

3 pound pork loin back ribs

2 Tbsp instant minced onion

1 tsp ground mustard

1 tsp crushed red pepper flakes

½ tsp ground allspice

½ tsp ground cinnamon

½ tsp garlic powder

1 medium onion, sliced

½ cup water

1 ½ cups barbecue sauce

In a small bowl mix instant minced onion, mustard, red pepper flakes, allspice, cinnamon and garlic powder. Rub mixture into ribs. Cut ribs into 4-inch pieces if they have bones. Layer ribs and sliced onion in slow cooker. Pour water over ribs. Cover and cook on Low heat for 8-9 hours. Remove ribs from cooker and drain and discard liquid from cooker. Pour barbecue sauce into shallow bowl and dip ribs into sauce. Place ribs in cooker and pour remaining sauce over ribs. Cover and cook on Low for 1 hour. Revel in carnivorous delight. Serves 6.

Monday, July 18, 2011

Tortellini with Italian Sausage, Fennel and Mushrooms


With homegrown fennel and Swiss chard on hand, I found out this recipe, switched the spring spinach for summer chard, and it was a delicious one-pot meal.

Tortellini with Italian Sausage, Fennel and Mushrooms
Adapted from Bon Appetit

1 tablespoon olive oil
1 large fennel bulb, trimmed, halved through core, thinly sliced lengthwise (about 3 cups), fronds chopped
1 pound spicy Italian sausages, casings removed, sausage coarsely crumbled
1 8-ounce package sliced fresh crimini (baby bella) mushrooms
4 large garlic cloves, pressed
1/2 cup heavy whipping cream
1 cup (or more) low-salt chicken broth
1 16-ounce package fresh tortellini with 3-cheese filling
1 c. Swiss chard, sliced into ribbons
1/2 cup finely grated Parmesan cheese plus additional (for serving)

Preparation

Heat oil in large nonstick skillet over medium-high heat. Add sliced fennel bulb, sausage, and mushrooms; sauté until sausage is brown and cooked through and fennel is almost tender, 12 to 15 minutes. Add garlic; stir 1 minute. Stir in cream, then 1 cup broth; boil until liquid is reduced and very slightly thickened, 2 to 3 minutes.

Meanwhile, cook tortellini in large pot of boiling salted water until just tender but still firm to bite, stirring occasionally. Drain tortellini; return to same pot.

Add sausage mixture to tortellini in pot. Toss over medium heat until blended. Add chard; toss gently until chard wilts. Stir in 1/2 cup cheese; add more broth by 1/4 cupfuls to moisten if dry. Season with salt and pepper, sprinkle with chopped fennel fronds, and serve, passing additional cheese.

Thursday, July 14, 2011

Chez Panisse's Nectarine Blackberry Galette


I would love to eat at Chez Panisse in Berkeley someday; it is one of my life goals. I read a book several years ago called "Alice Waters and Chez Panisse" by Thomas McNamee, a delightful recollection of the rollicking 70's Berkeley atmosphere and how Chez Panisse was created at that time. The book also chronicles how the restaurant has evolved over time under the guidance of Alice Waters, the perfectionist/artist/pioneer of California cuisine.

Sprinkled throughout the book are recipes for dishes served at Chez Panisse, and there is one page I have turned to over and over again. It's a simple, flexible recipe for a fruit galette by pastry chef Lindsey Shere.

This galette is phenomenal with almost any kind of stone fruit. I have used peaches, nectarines, plums, even apples in winter; you can also use some berries in a combination with other fruit, although you may find it too juicy if you were to use all berries. This week, I used nectarines from the farmer's market and plump wild blackberries I picked.

The crust for the galette is ideal - flaky, buttery, both crisp and soft, flecked with coarse sugar and filled with meltingly soft, sweet fruit. Baking it on a pizza stone does make a difference, so I recommend buying one if you don't already have one in your kitchen. Here's the recipe, which is very casual and more of a tutorial in Lindsey's own words:

Lindsey's Fruit Galette

Peaches, nectarines, and plums are great for this. It's easily translated to apples and pears, too. One of the great things about a galette is you can make it any size you want. If you want something for two people, you can make a little one.

You start with a pate brisee, of whatever size you need for what you're making. The one I use, for 6-8 servings, is a cup of flour, six tablespoons of butter, a quarter teaspoon of salt, and a quarter cup of cold water. You just put it together like pie crust, very quickly. I usually chill it then for a little while to let the flour relax a bit.

I roll it out really thin, as thin as possible, into a big circle. I usually bake it on a pizza pan, but it could be on a flat cookie sheet. If you've got a pizza stone, putting the pan on that would be an ideal way to bake it, because you want to get heat to the bottom of it very quickly.

So you roll out a big circle and lay it on the pan. then I usually make a mixture of equal parts of sugar and flour. For this size I'd use about 2 tablespoons of each and spread that over the bottom of the galette, out to about 2 inches from the edge. It's there to sit under the fruit and thicken the juices. Sometimes I add macaroon crumbs, or even a thin layer of almond paste.

If I were using peaches or plums or nectarines of pluots, I would use about a quart of sliced fruit. You can either arrange the fruit in a fancy design on the dough or just scrumble it about. Peaches I peel usually, but not plums or nectarines.

Now this is the part where you have to make a judgement. i sprinkle the top with sugar - more if it's something like peaches. You can sprinkle it reasonably heavily, because those things because much more tart when you cook them.

When you've sprinkled the fruit with sugar, fold the edges of the dough up over the fruit. You can pleat them in or father them in. Then I brush those folded-over edges of dough with water , pretty heavily, and then I sprinkle just the edges really heavily with coarse sugar, so there's a thorough coating on it.

It goes into the oven to bake at 400 degrees for 45-50 minutes. The thing you want to be sure of ts that the fruit is thoroughly cooked, and that it's boiling in the center of the galette, because that will cook the flour on the bottom.

When it's done, immediately slide it onto a rack to cool, so that the bottom doesn't get soggy. In the first 5 minutes or so, while the juices are still bubbling, I use a pastry brush to pick up those juices and glaze any of the fruit that looks dry. After that, the juices disappear into the flour, so you've got to be quick. And that's it.

Dead Simple Dill Pickles

I have been dreaming of old-fashioned, homemade pickles since last winter, when I picked out some pickling cucumber heirloom seeds to plant this year. The weather delayed the harvest, so when pickling cucumbers began popping up in the farmer's market last week, and my own crop had just begun to produce, I was too anxious to wait!

I have never made pickles before, and it strikes me as a wonderfully old-fashioned way to preserve produce. I decided I would first tackle the most basic thing possible: A simple dill pickle.

I found a recipe that sounded easy enough, but later when the jars were already sealed and stored, I began to worry. Most of the other pickle recipes I was seeing online included a lot of seasonings like mustard seeds, special ingredients to preserve the crunch factor, and so on... I became so worried about my humble pickles that it took me a week to crack open a jar and timidly do a taste test.

Fantastic! They are crunchier and crisper than anything I've had from the store or from a restaurant, and with a good balance of flavors between the dill and vinegar. If you're looking for an easy recipe for beginners and want to try your hand at homemade pickles, this is a great place to start. And you probably already have most of the ingredients in your pantry!

NOTE: After washing your cukes, sort them into piles by size. This uniformity of size will help your jars look nicer and the cukes will fit better into the jars.

Dead Simple Dill Pickles

7 wide-mouth quart jars, lids and rings
1 bunch fresh dill
25-30 pickling cucumbers, washed and scrubbed and halved or quartered, it's up to you!
7 garlic cloves (or more)

Brine:

8 1/2 c. water
2 1/4 c. white vinegar
1/2 c. kosher salt

GET ALL OF THIS GOING BEFORE FILLING THE JARS
1. Wash the jars in hot, soapy water (or dishwasher); rinse and fill with hot water. Set aside.
2. Fill canning kettle half-full with hottest tap water; set on burner over high heat.
3. In a medium saucepan, fit lids and rings together, cover with water, bring to a simmer.
5. In a large saucepan, bring water, vinegar and salt to boil; turn off the heat; set aside.
6. FILL JARS: place a layer of dill and one garlic clove at the bottom of each jar. Then tightly load the cukes into the jar to the NECK of the jar. Squeeze cukes into the jar tightly. Uniform size helps; add a few spriglets of dill at the top, too. You can add another garlic clove if you like (optional).
7. Once jars are loaded, pour in the bring leaving half-inch head space in each jar.
8. Add lid and ring to each jar, tightening evenly.
9. Place jars into canned with water JUST to the necks of the jars.
10. Bring water ALMOST to a boil (about 15 min, depending on how fast it heats up).
11. Remove jars, set on a dish towel on the kitchen counter, cover with another dish towel, and let cool.
12. Check for seal, label jars, and store in a cool dark place.

Tuesday, July 12, 2011

Apricot Vanilla Bean Jam


We had a pretty good crop of apricots this year. I have eaten many whole; also, I froze a big bag of them, roasted them and topped them with honey marscapone, and made an apricot crisp. This week found me with a bag left, many of which were on their last leg, and many of which the birds had already begun nibbling. In other words, not the prettiest specimens, but still perfectly good for making jam.

Sheepishly, I must admit that this is the first time I have ever bought "vanilla bean" - or, more accurately, a vanilla pod with innumerable sticky seeds inside. All I can say in my defense is - $11 for one! One jar! One pod! Eleven dollars! Ouch!

My discomfort over the price melted away once the jam began simmering and the two independently delicious smells of vanilla and apricot began to intertwine and waft through my kitchen. And it was all but forgotten when I took my first bite of the finished product... Then licked the spoon, the pan, and spooned the leftovers over yogurt for dessert. This jam would be supremely divine over ice cream as well.

Sorry, but the amounts are approximate here, as I was mostly improvising and trying to use up what I had.

Apricot Vanilla Bean Jam

10 cups apricots, roughly chopped (approximate)
3 c. white sugar
1 vanilla bean, halved and sliced down the middle
juice of 1 lemon

Combine all ingredients in a large pot, bring to a boil. Reduce heat to a simmer and cook for about 1 hour, stirring regularly with a wooden spoon, until jam reaches the gel stage. Ladle into sterilized jars and process the cans.

Sunday, July 10, 2011

A Midsummer Day's Dream

I'm currently reading Annie Dillard's "Pilgrim at Tinker Creek", a meditation on the majesty of nature. Only problem is, after a few pages of reading how magnificent the natural world is, I find myself running outside to observe it first hand! Look what I found in my own backyard (ok, my parents' actually....)


The pumpkins are taking over the garden! They're sweet varieties for pie-making, so come October there will be fresh pumpkin pie, oh yes! And look below, we've already got a big one!


Fennel! Finally came through. We thought these were carrots for quite a while.


First Brandywine tomato - I'm salivating already just watching it turn red!


Italian San Marzano tomatoes - Pasta, you are calling my name!


Pickling cucumbers! Woo hoo! Finally!


Apples - let's hope they're edible this year. They're sometimes very dry. Strange, huh?


Asian pears on the tree - we have a TON this year!!!


Dill - so pretty when it blooms


Plums


First harvest of wild blackberries. Totally worth the thorns!
Life is truly beautiful when you're outside!

Saturday, July 9, 2011

What to Do with Zucchini?

There is one thing that can be counted on to grow well every year here: Zucchini. Perhaps no other crop is as prolific as this Italian squash. Last year I was craving zucchini bread and practically begged friends for zucchini via Facebook, but no offers came through. This year I will not be buying zucchini again, as our two plants are already producing plentifully.

Once the newness of zucchini begins to wear thin, one always starts to wonder what to do with it all. Here are a few suggestions that I have enjoyed in the past:

Healthy Stuffed Zucchini (with bulger and pine nuts)

Zucchini Bread with Pineapple
(wonderfully sweet and moist)

Thanks to Pinterest, I am determined to also make:

Zucchini Lemon Cookies


Source: food52.com via Stacy on Pinterest


Chocolate Zucchini cake


Zuni Cafe Zucchini Pickles


Ratatouille


I could go on and on. I got so carried away, I created a whole Pinterest Board for zucchini recipes. Any other zucchini-related suggestions out there?

Wednesday, July 6, 2011

Simple Roasted Apricots with Honey Marscapone

This is the best use for fresh apricots I have had! I literally licked my plate when I was done. Thank you to Joy the Baker for this recipe! It was my first time using marscapone, which was incredibly thick and rich with the texture of butter. I recommend using 2 apricots per person.

Simple Roasted Apricots with Honey Marscapone

4 apricots, halved and pits removed

2 tablespoons granulated sugar

1/2 cup marscarpone cheese

1 teaspoon honey

1 teaspoon chopped mint

1 teaspoon chopped lemon balm (optional)

Preheat broiler. Place sugar in a shallow bowl. Dip apricot halves in sugar and place in a oven safe dish (I used a cast iron pan).

Place dish under the broiler and bake for 3 to 4 minutes. Keep an eye on the apricots, and carefully rotate the pan as necessary. Sugar will melt, boil and begin to brown. Remove from the oven and allow to cool slightly.

In a small bowl, mix honey into mascarpone cheese. Place slightly cooled apricots on a plate. Top with a dollop of mascarpone mixture, and a sprinkling of fresh mint and lemon balm. Serve. These apricots are best served just after they’re baked.

Tuesday, July 5, 2011

The Upside of 100 Degree Weather

Sacramento is notorious for its hot summers, at least as far as Northern California climates go. Temperatures are now reaching typical July heights of 100 degrees or higher. But there are advantages to the heat that accompanies the heart of summer:

For one thing, the hot sun is finally ripening the apricots on my parents' tree, and I know just what I want to do with the first deliciously ripe ones, thanks to Joy the Baker:


After these delightful Grilled Apricots with Honey Marscapone, I need to find a use for zucchini, yellow squash, carrots, and absolutely loads of Swiss Chard that I harvested today. I also have harvested two Black Krim tomatoes and two Roma tomatoes, but they haven't made it to the kitchen without being devoured. I am always impatient for tomato season to arrive, but this won't truly happen until August/September in Sacramento, so until then I must be content with clandestine nibbles in the garden.

As for the veggies, I think a simple veggie lasagna and tossed salad would be a nice use for them!
What would you do with them?

Hiking Mount Tamalpais and Muir Woods

Is there any better feeling than accomplishing something you have wanted to do for a long time? This weekend, I had that wonderful feeling after I hiked through Muir Woods National Park and Mount Tamalpais.

Source: flickr.com via Kristen on Pinterest


Muir Woods was so peaceful and serene, as we walked through the towering redwood trees. We saw a stump of a tree that was planted in 909 AD! Seeing how some trees have been burned out but continue to stand signified strength. Observing new trees springing up where others have fallen and decayed reminded us of the circle of life.

Source: flickr.com via Sean on Pinterest


As for being on Mount Tamalpais, it was like a walk in the clouds - perfect 70 degrees, the smell of trees and earth, blue sky above and the city below, hawks flying next to us. It was the kind of weekend you hope to have but seldom find.