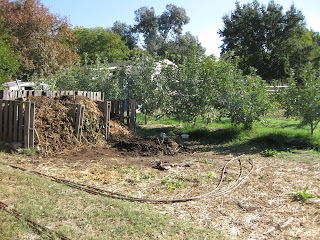
 The farm is a striking place to be, with rich dark soil, flowers and vegetables everywhere you look.
 Some of the fertility no doubt comes from the excellent compost they produce on site from chickens and garden scraps and add to their beds.
 Some of the raised beds are simply raised mounds of dirt, formed by scooping up the topsoil to create a row to plant in; the lower ground becomes a path to walk along. Then, there is also the option of a more traditional raised bed, which may look something like this:
 Note the drip line system, which is the method our instructor Antonio recommended for watering raised beds, for 30-45 minutes every other day. He also gave us a lot of information on:
- Different common weeds and the best way to eradicate them (digging/pulling them up - surprise!)
- Helpful gardening tools (including some neat Japanese ones like the hori hori)
- The right kind of dirt to add to a raised bed (topsoil, then dust the top with compost; kelp meal to add minerals)
- Where to put your raised bed (a place with receives 6-8 hours of sunlight a day; western or southern exposure are best. If you put it on grass, at least turn the sod over before you place the raised bed on top of it.)
- Best fall crops to plant locally: garlic, kale, radishes, chard, and broccoli
- Basics of how to build a raised bed (cedar or hardwood last longest; salvaged wood is cheapest. Use screws, not nails. Or use paving stones or nothing at all like I mentioned above!)
Antonio taught us that when you're gardening the right way, the earth will improve over time as you incorporate organic matter and continue to remove the weeds. Patience is certainly a virtue to be learned by growing your own food.
Why is it better to use screws instead of nails?
ReplyDelete