Showing posts with label compost. Show all posts

Saturday, August 25, 2012

Brewing Comfrey Tea

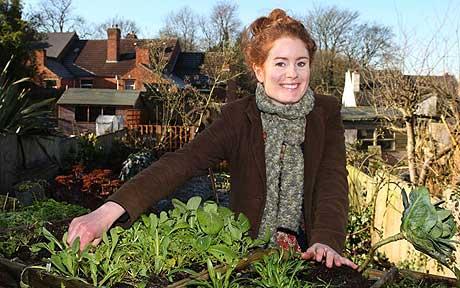
Have you heard of Alys Fowler? To me, this young, pretty, hip British television star is to gardening what Jamie Oliver is to cooking in the UK. She makes it fun, fashionable and interesting with her shows and books set in picturesque, lovely locales. 


Watch her show "The Edible Garden" here - I'm in love with the way she makes her urban Victorian backyard both beautiful and delicious! A few years ago, I happened to purchase her book Garden Anywhere, and was captivated by her description of comfrey tea, a liquid fertilizer you can make at home from the leaves of the comfrey plant.

Alys writes, "Once [comfrey] is established, you may never need to buy commercially made plant food... Comfrey is a deep-rooted, hardy perennial... Its leaves are high in potash, a source of potassium important for cell division, and also have good levels of nitrogen and phosphate".

Due to her glowing description, comfrey was the first plant I chose for my backyard when we landscaped, and it has done extremely well. Though I have trimmed it down several times, it is still huge and overshadows the rhubarb and chives it borders.

Large-leafed and hardy, comfrey has pretty purple blossoms when it flowers, though they have dried up at the moment, here in August.

The leaves are supposed to "kick start" compost bins, so I had added them to ours, but hadn't yet attempted to ferment the tea. She recommended putting the leaves in a plastic bucket, covering it, and allowing them to decompose for 10 days at least, then using the liquid to fertilize. Alys notes that the comfrey tea smelled bad. I have smelled some bad smells in my time (like a bad composting attempt when the smell of dead bodies permeated our apartment), so I was curious what level of "stink" I'd be dealing with after the 10-day mark.

The finished compost tea was a murky brownish liquid, which I ladled with a bowl over all the plants in my backyard. The scent was like a baby diaper left to sit for several days- unpleasant to be sure, but not unbearable. My plants look healthy and strong, with some new blooms on some of my vegetables when I thought they were finishing up.  It's a project I would do again.

Note: It's important to keep the bucket covered to avoid attracting flies, as the moment the lid was off, they were all over that bucket. Also, Alys doesn't recommend using the comfrey tea on houseplants due to the smell.

Thursday, June 24, 2010

Make Your Own Compost!


My newest determination is to begin composting. Rich, fertile “black gold” as it is called by gardeners and farmers, can be used to enrich any flower bed, garden plot or lawn - and you can make it at home!

I bought a cheap plastic smell-proof bin from amazon.com and will begin collecting my kitchen scraps (egg shells, vegetable peelings, apple cores, etc.) and adding it to a compost pile at my parent’s house one a week or so. That way, my apartment-dwelling neighbors won’t have to smell my new project (although once you get the right combination of air and moisture, compost supposedly doesn't stink).

Here is a quick guide for those of you interested in making your own compost. It may take anywhere from 6 weeks to 1 year to be finished, depending on a variety of factors that affect the speed of the process.

1. If you're doing a pile (as opposed to using a bin with holes in the bottom), start by clearing the soil of weeds (you don't want them flourishing in your lovely compost).


2. Start the pile with a layer of brown stuff (high in carbon) to serve as the "fiber" for your compost. Brown stuff includes dead leaves, plants and weeds; pine needles; old straw and hay; or shredded newspaper.

3. Next, you want to mix half brown stuff with half green stuff (or up to 3 parts brown stuff to 1 part green stuff). Green stuff (high in nitrogen) will activate the heat process in your compost. Perfect heat-generating materials include: organic kitchen scraps like the ones I mentioned; herbivore manure (from rabbits, chickens, sheep, goats, or pigeons); hair; grass cuttings; etc. Note: Never compost animal products, feces from carnivorous animals, or weeds that are alive (they might grow).


4. Mix in a little bit of soil and sprinkle each layer lightly with water as you build the heap.


5. Turn your pile regularly, once every week or two. Try to move matter from inside to outside and from top to bottom. Break up anything that is clumpy or matted. Remember that the pile needs to be exposed to air and kept moist in order to decompose properly. For faster break-down, shred leaves, clippings; and crush egg shells


6. To aid the decomposing, add some worms, which can be bought online or at Farmer’s Markets.

When the process is complete, you may use your compost as you wish or give it away! Any farmer or gardener you know would probably love to have it! Happy composting!